How to Diagnose Common Alternator Problems
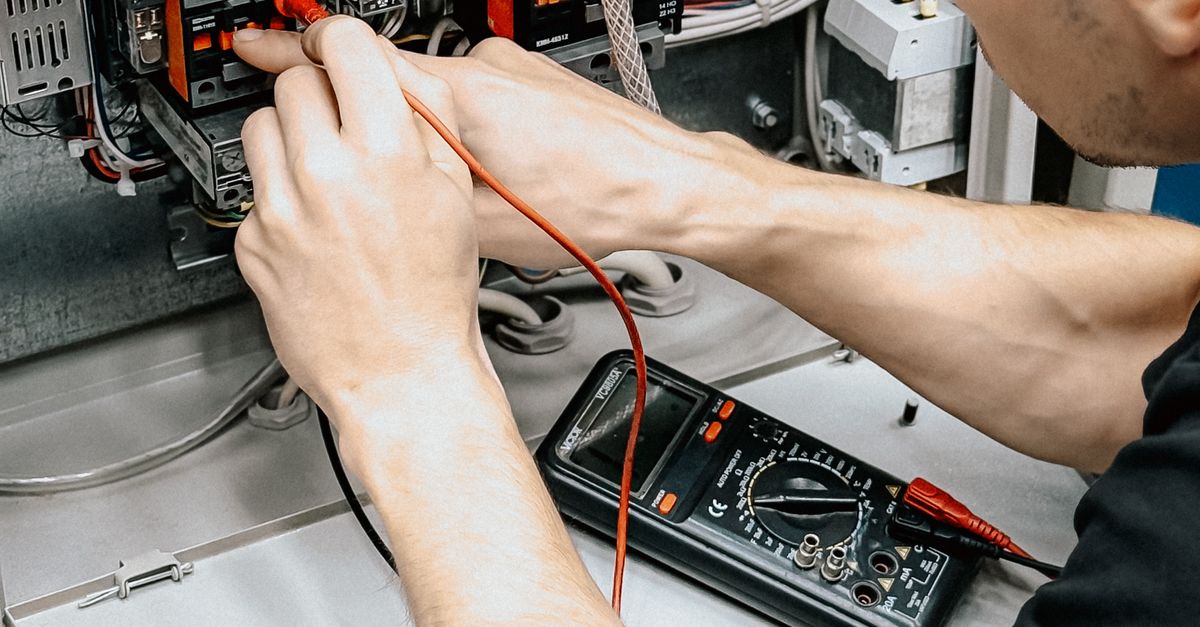
Table Of Contents
Assessing the Alternator's Internal Components
Identifying issues with an alternator often begins with a close examination of its internal components. The main parts include the rotor, stator, diodes, and voltage regulator. Each component plays a critical role in converting mechanical energy into electrical energy. When any of these parts fails, it can lead to inadequate power output, which can affect the vehicle's performance. Signs of wear or damage, such as burnt or corroded connections, can provide essential clues about the alternator's health.
Testing the internal components typically involves removing the alternator from the vehicle for a thorough inspection. A visual assessment can reveal physical damage or signs of overheating. Following this, using a multimeter can help check component functionality, confirming that the voltage regulator is operating correctly and that the diodes are allowing current to flow in only one direction. Each test provides vital information that aids in diagnosing the root cause of alternator issues.
Common Internal Failures and Their Effects
Internal components of an alternator can experience various failures, leading to reduced efficiency and potential vehicle issues. A worn-out bearing often results in noise and increased friction. This friction diminishes the alternator's ability to generate power effectively. Additionally, issues with the stator or rotor, such as short circuits, can prevent the alternator from producing the necessary voltage, ultimately affecting the battery's charging capabilities.
Another common failure arises from a faulty diode. Diodes are responsible for converting alternating current (AC) generated by the alternator into direct current (DC) used by the vehicle. A failed diode can lead to incomplete conversion, resulting in flickering lights or electrical system malfunctions. Furthermore, problems with the voltage regulator can cause overcharging or undercharging, jeopardizing battery health and affecting overall vehicle performance. Identifying these internal failures early is crucial for maintaining a reliable electrical system.
Diagnostic Tools for Alternator Problems
Effective diagnosis of alternator problems relies heavily on the right tools. A multimeter is essential for measuring voltage output and ensuring that the alternator is functioning within the correct parameters. Additionally, an alternator tester can provide comprehensive insights into the health of the unit by simulating a variety of load conditions. These tools are crucial for technicians to pinpoint specific issues that may not be evident through visual inspections alone.
Another valuable diagnostic instrument is an oscilloscope, which helps in analyzing the waveforms produced by the alternator. By interpreting these waveforms, mechanics can identify irregularities in performance that suggest internal faults. For those without access to specialized equipment, many auto parts stores offer lending programs for diagnostic tools, allowing even casual users to acquire necessary insights into their vehicle's electrical system. This enables proactive maintenance and can prevent more serious damage down the line.
Utilizing Professional Equipment for Accurate Testing
Professional equipment plays a crucial role in accurately diagnosing alternator issues. Multi-meters, for instance, can measure voltage output, helping to determine if the alternator is supplying enough power. A thorough inspection with this tool can identify discrepancies between the voltage produced and the manufacturer’s specifications. Additionally, oscilloscopes can provide a visual representation of the electrical signal, revealing irregularities that may not be immediately apparent through other methods.
Another essential diagnostic tool is the alternator testing machine, which can simulate various conditions under which the alternator would operate. This device can highlight weaknesses in the unit, pinpointing issues such as low output or failed diodes. Using such precise tools ensures that mechanics can ascertain the true condition of the alternator instead of relying solely on visual inspections or assumptions based on symptoms. This comprehensive approach to testing maximizes the chances of making accurate repairs.
Understanding Warning Lights on the Dashboard
Dashboard warning lights serve as essential indicators of a vehicle's health. The battery and alternator warning lights specifically alert drivers to potential electrical system issues. A illuminated battery light often signals problems with the charging system. It doesn’t always mean the battery itself is faulty, but it can indicate that the alternator is not functioning properly.
Paying attention to these warning lights is critical for maintaining vehicle performance. Immediate action is advisable when either light comes on. Drivers should not ignore these signals, as doing so could lead to more significant and costly repairs down the line. Regularly monitoring these indicators can help ensure that the vehicle operates smoothly and that necessary repairs are addressed promptly.
Interpreting Battery and Alternator Indicator Lights
The presence of warning lights on the dashboard can serve as an early alert to alternator issues. When the battery light illuminates, it often indicates a problem with the charging system. This could mean that the alternator is failing to supply adequate voltage, or there may be issues with the battery itself. Drivers should not ignore this light, as continued operation with these warnings can lead to further electrical failures.
An illuminated alternator light typically signifies that the alternator is not functioning as it should. This can happen due to various reasons, including worn out diodes or a damaged voltage regulator. Observing these lights provides valuable insight into the vehicle's electrical health. Addressing issues promptly after seeing these indicators can prevent more extensive and costly repairs.
FAQS
What are the signs that my alternator may be failing?
Common signs of a failing alternator include dimming headlights, a dead battery, unusual noises from the engine, and warning lights illuminating on the dashboard.
How can I test my alternator at home?
You can test your alternator at home using a multimeter. Start the engine, set the multimeter to the DC voltage setting, and measure the voltage at the battery terminals. A healthy alternator should produce between 13.8 to 14.2 volts.
What tools do I need to diagnose alternator problems?
Essential tools for diagnosing alternator problems include a multimeter, a battery tester, and possibly an oscilloscope for more advanced diagnostics.
What does it mean if the battery warning light is on?
If the battery warning light is illuminated on your dashboard, it may indicate that the alternator is not charging the battery properly, signaling a potential alternator failure or battery issue.
How often should I have my alternator checked?
It's a good practice to have your alternator checked every time you have your battery serviced, typically every three to five years, or if you notice any symptoms of malfunction.
Related Links
Common Misconceptions About Alternator RepairsImpact of a Failing Alternator on Vehicle Performance
Choosing the Right Auto Electrician for Alternator Issues
Preventative Maintenance Tips for Your Alternator
Understanding the Role of an Alternator in Your Vehicle
DIY Tips for Troubleshooting Alternator Issues